Quickstart
Scaffold a SiteKnock project, create your first app, and run it locally in a few minutes.
Before you begin
You need a SiteKnock license and a few tools installed. See Prerequisites for the full list — in short: Node.js 22+, pnpm 9+, Docker (or OrbStack), and Git.
Prefer a visual workflow? You can do almost all of this in Studio instead of the terminal. Jump to Use Studio below, or read the Studio Overview.
1. Install the sk-cli
The sk-cli is the command-line tool that scaffolds and manages SiteKnock projects.
npm install -g @siteknock/sk-cli
2. Create a project
Scaffold the project
From your workspace folder, run create with a project name. This downloads your licensed bundle, configures registry access, and registers the project in your workspace.
sk-cli create --project my-saas
cd my-saas
Install dependencies
pnpm install
A fresh project starts with no apps — an empty apps: [] in config/sk-config.jsonc. You add apps on demand in the next step.
3. Create your first app
Create a fullstack app to get both a Next.js frontend and an Express backend:
pnpm app create my-app --type fe+be
You can also create other app types:
pnpm app create marketing --type fe          # Frontend only
pnpm app create api --type be                # Backend only
pnpm app create my-app-e2e --type e2e --targets my-app   # Playwright tests
App creation runs the generator automatically. Each app gets its own folder under apps/, per-app config under config/<name>/, and locale files under locales/<name>/.
4. Start services and run the app
Start dev services
This brings up a shared Docker stack with PostgreSQL, Mailpit, MinIO, and Redis.
pnpm compose:dev:up
Migrate and seed the database
For apps with a backend, run the Prisma migrations and seed demo data:
pnpm app db migrate my-app
pnpm app db seed my-app
Run the app
pnpm app dev my-app
This regenerates the app from config and starts the frontend and backend together.
5. Verify
Open your browser to confirm everything is running:
| Surface | URL |
|---|---|
| Frontend | http://localhost:3000 |
| Backend health | http://localhost:5000/api/health |
| Mailpit (email inbox) | http://localhost:8025 |
You now have a running SaaS application with auth, billing, and the full UI kit ready to configure.
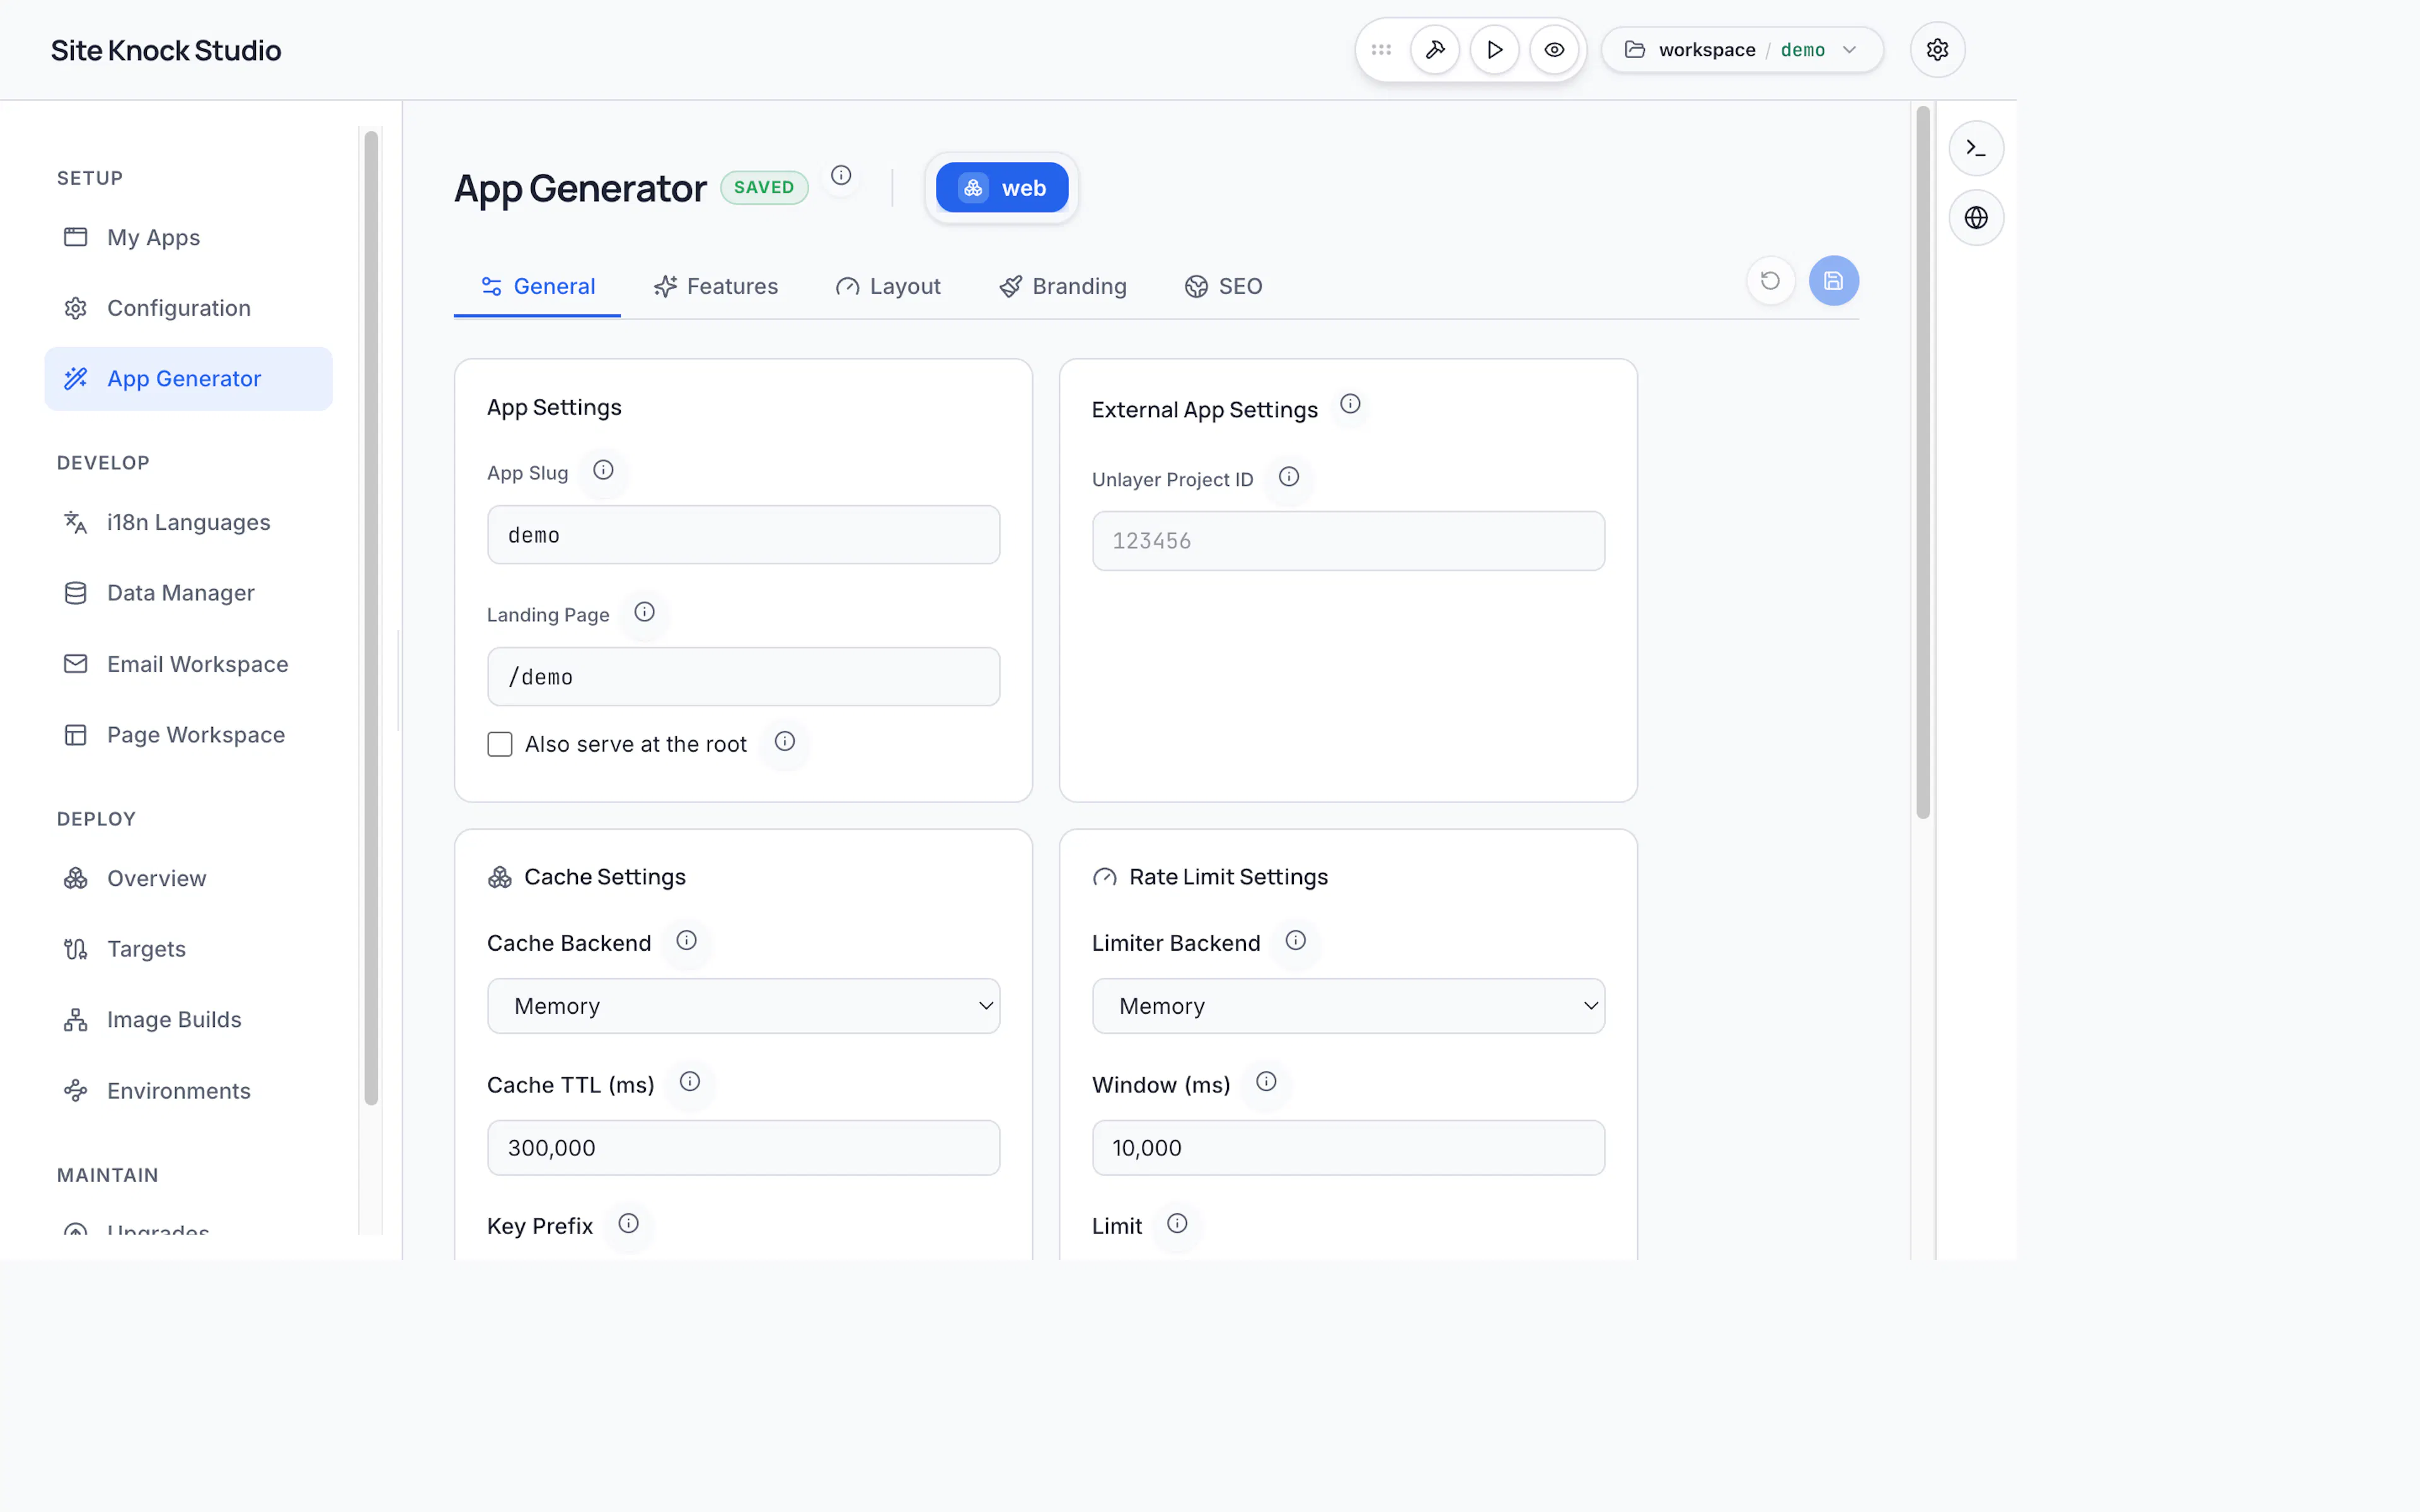
Alternative: Use Studio
Studio is a visual interface for creating apps, toggling features, designing pages and emails, managing themes, and deploying — no terminal required.
sk-cli studio start
See the Studio Overview for the full capability map.
What's next
Configure features in Studio
Toggle auth, billing, organizations, email, and i18n with a few clicks.
Understand the project structure
Learn where apps, config, locales, pages, and emails live.
Add AI agent guides
Give Copilot, Claude, or Cursor full context on your project.
Deploy your app
Ship your frontend and backend as containers.